PHOTOMONTAGE
AND THE CREATiVE COMMONS
|
 |
 |
This project is about honing your Photoshop Selection and Adjustment Layer, and Smart Object skills, becoming familiar with the Creative Commons, and learning about the art of photomontage.
HISTORY
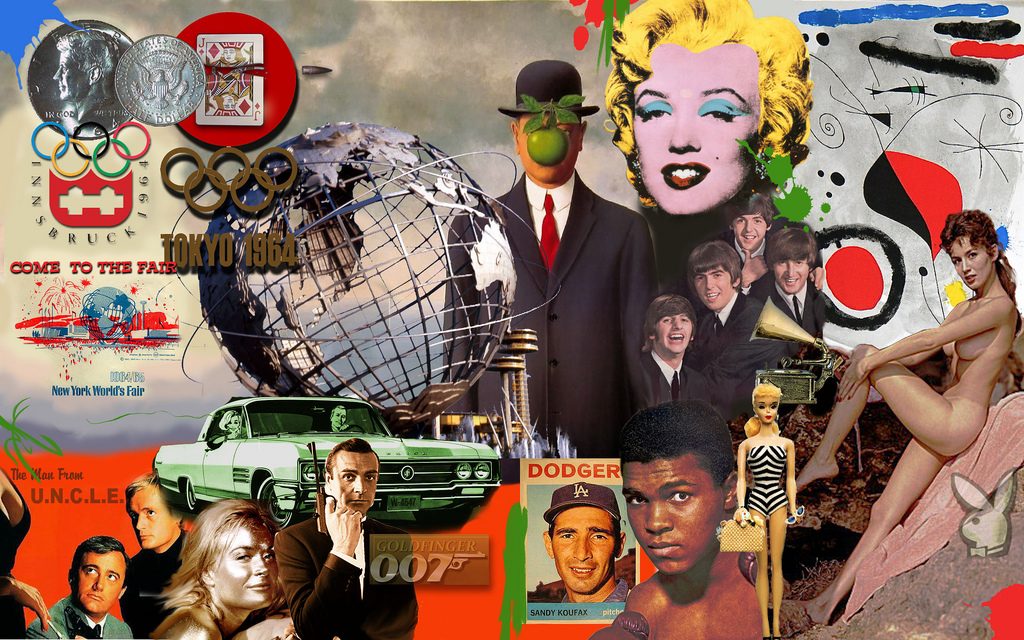
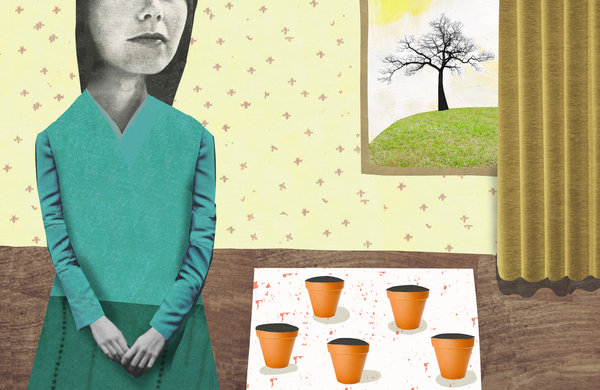
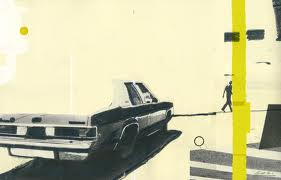
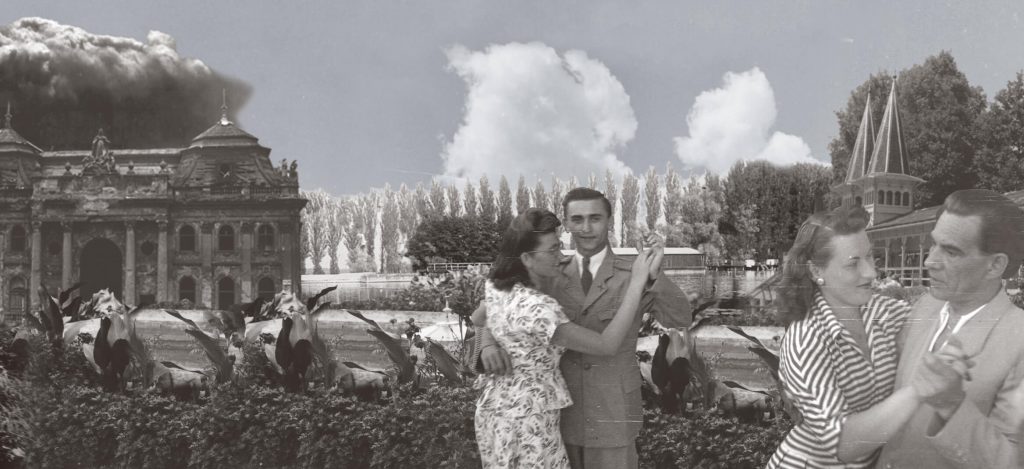
Photomontage has a venerable history in communication. John Heartfield, who was active between WWI and WWII, remains one of the most well-known photomontage artists; he had to flee Nazi Germany b/c of his politically critical, anti-Hitler photomontages. Here are some other inspiring examples of photomontage.
STRONG THEME
Your photomontage should also have a point of view and align with your project idea. Start with a theme, and bring together visual ideas to communicate a visual statement. DO NOT CONTINUE READING UNTIL YOU LOOK AT SOME INSPIRING EXAMPLES. Just as you wouldn’t throw words on a page to create a well-honed paragraph, you shouldn’t throw a jumble of cutout images together on a “stage” without thinking how to maximize what you can communicate. For example, how can you emphasize what is important by making certain cutouts larger and others smaller? How can you position your cutouts across the “stage” so you are telling some sort of story? How can you stylize uncanny juxtapositions? Show relationships? Here is a chance to create a photomontage that is meaningful, maybe political, perhaps witty, certainly thematic. It can be about YOU. You are welcome to be inspired by your own project idea.
CREATIVE COMMONS
So what is the CC? Most images you find on the Internet are copyrighted and not available for download and remix.
If you post an image on Facebook, it’s automatically copyrighted. So…the CC is a an internet movement that helps content creators (artists, musicians) easily share their work, and then helps creators (like you) confidently adapt or remix this work without the fear of being sued. The Creative Commons makes a richer content environment for all of us. According to the CC website “Creative Commons licenses provide simple, standardized alternatives to the “all rights reserved” paradigm of traditional copyright…Whether you’re a photographer, writer, filmmaker, or DJ, our licenses help make your work part of the cultural innovation that’s multiplying on the Internet.”
There are 5 steps to this assignment: Find, Document, Create, Save, and Share (back) to the Creative Commons. Here are the steps in detail. Please FOLLOW EVERY STEP CAREFULLY, and make sure you return to the Lynda Tutorials to maximize your skill levels.
1. FIND AND DOWNLOAD images for your photomontage from the Creative Commons, public domain, or your own personal collection. The images could also be scanned art from your own notebook!
For this project we will be using the search tool created by the Creative Commons organization, which draws upon multiple archives (you can pick one archive at a time).
When looking for images, beware of pixels: the lower the quality the photo, the harder it is to work with in PHOTOSHOP (PS). Be mindful of finding VERY HIGH QUALITY photos (3000 X 2000 pixels is a high-quality photo). Try to avoid photos that are less than 500 X 500 pixels. Each photo you choose must be in the public domain, or must have a CC license that allows you attribute its use, or it must have a CC license that allows its use for educational or noncommercial purposes. If you find images in the public domain, you are free to use them without attribution, but their public domain status must still be documented. Minimum images used in your photomontage: 8. This is the MINIMUM. We of course expect that you’ll want to use more. Step 2 is Document Your Photos…so be mindful of Step 2 as you start looking for images in Step 1.
A NOTE ON DOWNLOADING IMAGES: How to download? Click and drag to your desktop, or Control/Right Click and “Save Image As…” However, you may find yourself in a situation on Flickr or another CC site where you can’t automatically download a photo and/or drag it to your desktop. What to do? In this case you need to click into the photo until you see (often on the top right hand corner) the text: “View all sizes” …click on that link and select the highest quality (usually “original” size). When you’re there, just drag the image to the desktop, or select Control/right click and “Save Image As…”
2. DOCUMENT YOUR PHOTOS. As you download your photos, simultaneoulsy keep track of the websites from where you found your images. You will be graded on the fastidiousness of your CC documentation. Copyrighted images are not allowed. Below is an example of a table (you can create one in Word) with three headings; as you search, keep adding your images to this document. This table is like a bibliography for a research paper. NOTE: You will not be able to use any photographs in your photomontage with a “No Derivatives” CC License, b/c this means that the photo has to be “intact” and no portion selected or played with.
PHOTO DOCUMENTATION TABLE
| IMAGE THUMBNAIL AND LINK |
DESCRIPTION/CAPTION |
ATTRIBUTION/PUBLIC DOMAIN STATUS |
PIXEL SIZE AND DIMENSIONS |
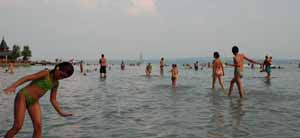
http://www.flickr.com/photos/73735208@N04/6647957263/ |
Use either the caption accompanying the image or your own description. NOTE: it’s okay if you “plagiarize” whatever caption you find b/c this is just for notation purposes.
e.g., children playing at Lake Balaton in Hungary |
Document the name of the person who took the photo, and note the CC license. If the image is in the public domain, note that it is a “pd image.”
e.g., Creative Commons Attribution license. Attribute: Bettina Fabos |
e.g.,
2.4 MB
3872 × 1776
NOTE: to confirm pixel size, go to PS, Image/Image Size.
|
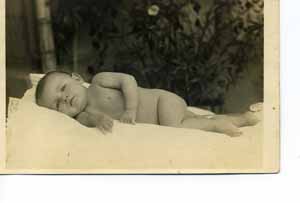
 http://www.flickr.com/photos/73735208@N04/6648231923/in/photostream http://www.flickr.com/photos/73735208@N04/6648231923/in/photostream |
e.g., boy lying on a comforter, Marcali, Hungary, 1932. Photo taken by Istvan Hevizi, 1932. |
e.g.,Creative Commons Attribution, Share Alike license. Attribute: Istvan Hevizi |
e.g.,
2.21 MB
1697 × 1146
|
|
|
|
|
4. CREATE YOUR PHOTOMONTAGE: Now that you’ve chosen which images to include in your photomontage, it’s time to create a photomontage! Open up a new document (File/New) that is approximately 3000 X 3000 pixels. If you need to adjust your image size you can always go to Image/Size and adjust the Width and/or Height later, or adjust the canvas size.
Very carefully, using your now-familiar arsenal of Photoshop Selection Tools, select your images. We recommend the PEN TOOL and the QUICK SELECTION TOOL (connected to the Magic Wand Tool) as the way to get the cleanest, most effective selections. We will be looking for inaccuracies so please be neat and clean with EVERY selection. Each selected element should appear on its own layer in your “collage” document. You can put an image underneath or on top of another one by rearranging the way they are stacked in the Layers panel. Organize the selections in your photomontage with attention to articulating a message: once again (read Step 1) your images should be more than a jumble of selections: what are you trying to say? Finally, add at least 3 adjustments to indiviudal image selections (e.g., change your cutouts’ color, contrast, exsposure and/or add effects and overlay). See the class syllabus/Week 2 for LYNDA tutorials.
Some POINTERS:
- HIGH QUALITY IMAGES. The higher quality the images you find, the easier it will be to select a portion from its background.
- BE ORGANIZED. Create a folder in your Dropbox called First Name/Last Name Photomontage. Then create an Images folder in your Photomontage project folder. This will keep all your images separate in a neat and tidy. Always preserve the original image in this folder, as well as your optimized .png image. Name your images WELL.
- AVOID SLOPPINESS. Do not be sloppy (another way of saying don’t leave this project until the last minute)! You will be graded on the precision of your selections, the organization of your files, and the credibility of your documentation.
- USE LAYERS. Make sure that each image APPEARS ON ITS OWN LAYER. Layers are stacked so that LAYER 1 appears behind LAYER 2, which appears behind LAYER 3, etc. NAME YOUR LAYERS. You can rearrange layers by dragging them up and down in the Layers Panel.
- SMART OBJECTS. Layer/Smart Objects/Convert to Smart Objects. That way you will never lose resolution when you resize an image (see Lynda tutorial, Week 2)
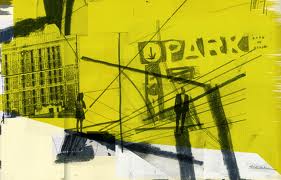
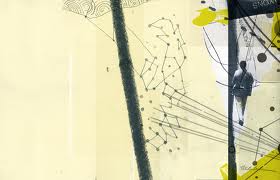
- DUOTONES. Identify two duotone modes. Alternate between your selected images, in applying these duotones. This will help you reach both a cohesive quality in your overall photomontage, and a sense of depth (note in Proud & Torn there is a brown duetone and a blue duotone employed).
- ADJUSTMENTS, AND OVERLAYS. If you are alrady practiced in Adjustments and overlays, go for it. Remember that if you add a filter, you cannot undo once you leave your document; if you an Adustment Layer (Layer/Adjustment Layer) you can change the adjustment any time; it’s thus much safer (See Syllabus/Week 2, for Lynda tutorials on Adjustments).
- OPTIMZE FINAL PHOTOMONTAGE FOR THE WEB (File/Export/Save for Web (Legacy)/save as .JPG. Saving your photomontage for the web will cut down on file size.
6. SAVE YOUR PROJECT: Save the finished photomontage under your First and Last name. To do this, go to File/Export/Save for Web (Legacy), and optimize the image as a JPG file.
<
WHAT YOU WILL HAND IN TO GOOGLE DRIVE:
-
- Your photomontage, optimized as a .jpg and uploaded to your student Google Drive folder (05_Photomontage)
- The original photoshop (PSD) file of your collage. It should end with a “.psd”
- An Image folder (in the industry you’d call this your “Assets” folder, so now is a good time to start) that should contain all the images you worked with, both the original and the .png cutout images. If it helps you, you’re welcome to organize these two groups of images into two separate folders (original and cutouts).
- A Microsoft Word document containing your PHOTO DOCUMENTATION TABLE, complete with title and date.
IF ANY OF THIS IS UNCLEAR, PLEASE CONTACT ME IMMEDIATELY!
Assignments handed in past the due date will be marked down a 1/2 grade for every day late.
|