|
Photoshop
|
5 FOUNDATION SKILLS
1. Tool Orientation
HINT: Command/Control D is very helpful in getting rid of a selection marquee!
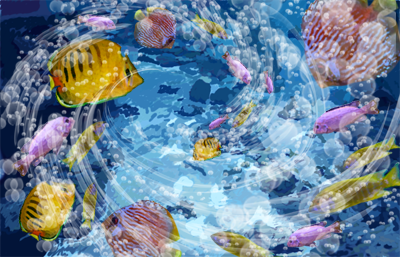
2. Layers (WORK WITH BEE) and work with fish.psd document
Shortcut! "Command/Control J" creates a new layer from its background
3. Selection Tools: how to separate an image from its background: magnetic lasso, quick selection tool, magic wand.
HELPFUL HINT: Delete key erases last magnetic lasso selection point
SEPARATE STUDENTS FROM THEIR BACKGROUND.
Get in the habit of saving selections (Select/Save Selection)
4. Image size/resolution/Document set up (learning how to control the pixels/inches, CMYK, etc of the image for high quality images, including .png, .jpg, .gif differences)
Great simple explanation - JPG vs. GIF vs. PNG
|
|
|
|
PNG (handles
tranparency!)
|
JPG (complicated!/photo
|
GIF: simple logos
(high contrast)
|
|
Save a selection as a png file.
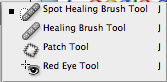
5. Patch tool; healing brush tool, clone stamp tool; (all related) to remove zits and smooth wrinkles.
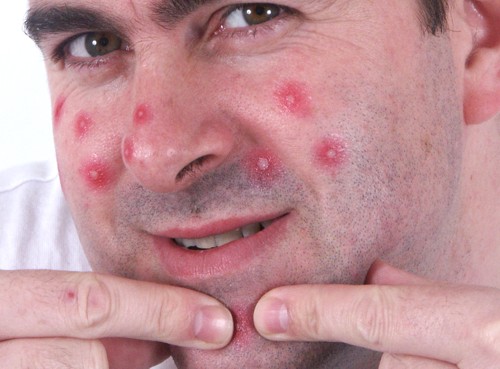
REMOVE ZITS: Hattie and Ryan, these images (zits and wrinkles) are not in the CMM file folders (I forgot to include them) so you can just take a screen shot and import the screen shot into Photoshop...sorry)
-
With your photo already open in Photoshop, begin by choosing the spot healing brush tool (which looks like a bandage with a loop). Make sure that "Proximity Match" is checked at the top. Pick a size a bit larger than a blemish on the photo, and put your cursor right over the zit. Click to zap it!
-
Use the patch tool on more severe blemishes. Select the patch tool, and make sure that "Source" is checked. Draw a selection around the area you want to correct, and then drag that selection onto a clear patch of skin.
-
Alternate between these two methods, until the skin looks clean.
-
If these corrections result in patchy-looking skin (which can happen with photos of severe acne), duplicate the layer (file/duplicate layer). Go to filter/blur/surface blur, and choose a value that evens out skin tome. Hit OK.
-
Using your eraser tool, erase the areas that should not be softened with blur, such as eyes, hair and teeth. Reduce the opacity level on the layers palette until you are comfortable with the result.
REMOVE WRINKLES
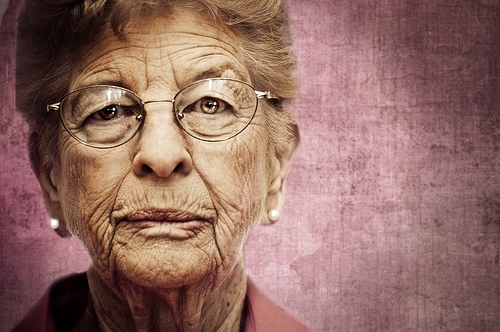
1. Open Photoshop and open the image you want to edit
2. Right click on the background under the layers window and click “duplicate layer”. You now have two layers.
3. Ensure your second layer is the active layer and click on “spot healing brush tool” in the sidebar.
4. Find an area of skin close the wrinkles that shares the same color and light attributes. Click “alt + left click” now move the spot healing brush tool over the wrinkles and either drag it along in the direction of the wrinkles or just “dab” it on the wrinkles one click at a time. If you make a mistake simply just click the “undo” button under “edit – undo”.
During this stage it’s important to ensure you’ve selected the right brush size. If the brush is too large, it may create noticeable marks on your photograph. For the image above I used a brush size of 7 (you can change this in the upper left hand corner of Photoshop).
It’s important to enlarge the photograph so you can see the small details of the wrinkles. It’s easy work, but to get it done perfectly you must spend some time trying different approaches and brush strokes to removing the wrinkles.
In the image above (top of blog post) I removed the majority of the wrinkles in the man’s face, especially around his eyes. Notice the changes are subtle as to make the photograph still appear natural. You can’t remove all of the wrinkles from the body or face of a 40 or 50 year old without the image looking unnatural.
SHORT PROJECT:
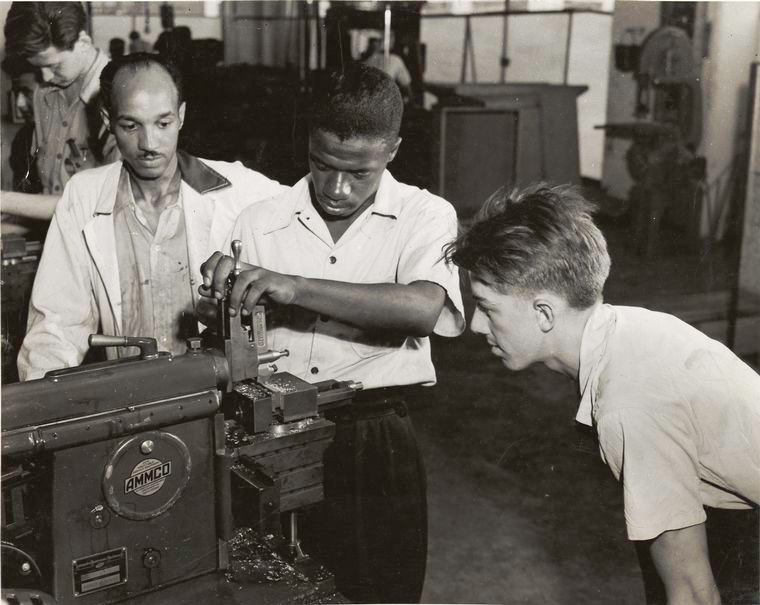
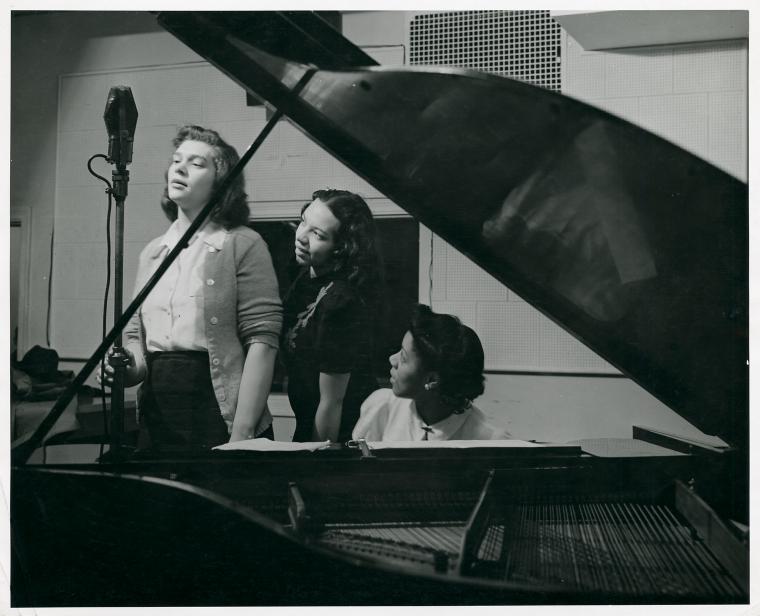
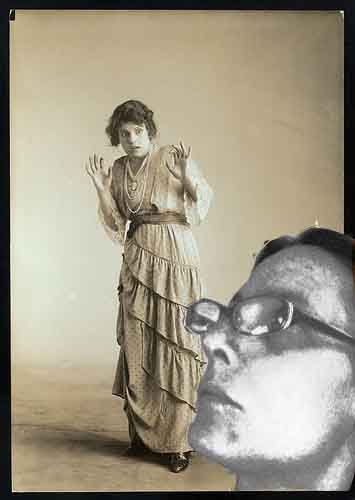
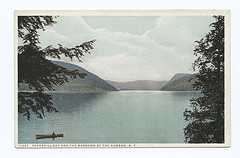
Search New York Digital Public Library's Flickr Photostream for a background image that will serve as a backdrop for an image of yourself (that you will take in a second). We are very careful to use images that are in the Public Domain or have no copyright restrictions. Store this image on your desktop.
Using Photobooth, snap an image of yourself, drag it to the Desktop, and import it into Photoshop.
Remove any zits, get rid of the dark circles, add a third eye if you want!)
Carefully select your face using the magic wand and magnetic lasso tools.
Create a NEW document and combine your background image and the image of yourself using LAYERS.
Now add a third layer and import the BEE.
5 ADVANCED SKILLS
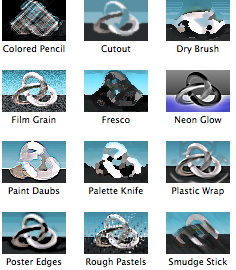
1. Filters
Add a filter (and experiment with filters...ugg, are they awful!)
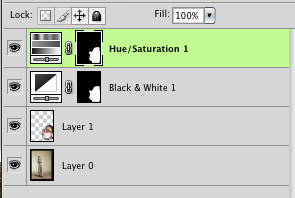
2.Adjustment layers
Select (with magnetic lasso and magic wand) the layer with your face on it.
Take the image of yourself and select Layer/Adjustment Layer to add an adjustment filter: Experiment with the Hue/Saturation option.
(If you have your face selected, the adjustment should only impact the face ...if you have nothing selected it will impact everything underneath).
Adjust Hue/Saturation
3. Cloning
Use the Clone Stamp tool to duplicate a portion of your image.

Alt/click secures the target.
Use the Clone Stamp tool to clone a portion of another open image into your current composition.
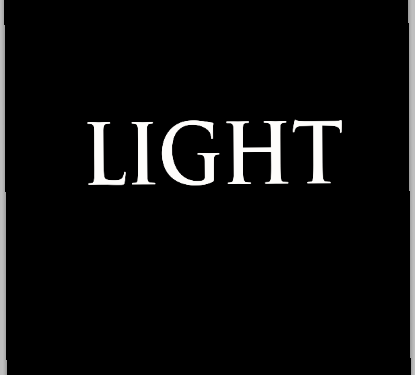
4. 3D Light Effect
Create a 8 X 8 inch 100 pixels document.
Make it black ("Control/Command I" will toggle it from white to black)
Create two layer duplicates, leaving the first Light layer alone.
HINT: "CONTROL/COMMAND J" CREATES A LAYER DUPLICATE
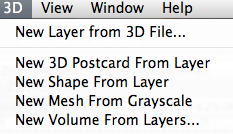
Go To 3D Menu
Select "New Volume from Layers"
Leave settings as they are: click OK
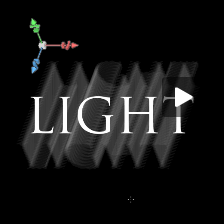
What it's doing is creating an extrusion of those two layers, almost a ghosting.
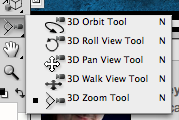
Grab the 3D rotate tool and grab the tool around to see the effect sofar.
Go into tool bar and go in and Choose 3D Zoom tool.
Click on Perspectitive camera option:
Now click on the 3D Slide Tool
HOLD DOWN THE SHIFT KEY to slide the 3-D forward in space; bring it closer to us. The Shift key, click and drag down. If you get the 3D "light" in front of the text you get the senst that it's beaming through there.
Now Build a New Layout: make it 12 X 6 Inches, at 100 pixels
"Control/Command I" for a black background
Take both top layers of the original "LIGHT" doc and drag them over into the working file.
Turn off the Eye icon for the original text and experiment with the 3D rotate tool and others.
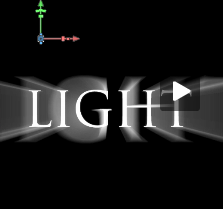
Go back to the point where the Light text showed. Try the 3D Scale Tool (make sure just top 3D effect layer is selected) and experiment with the Z access...Scale it up so that the beams of light are even larger.
Now take the 3D rotate tool and rotate Text and Effect.
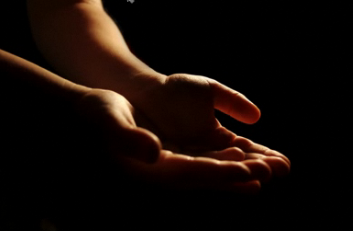
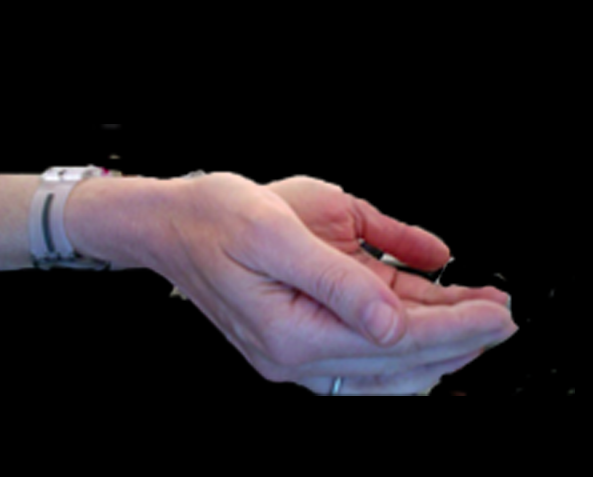
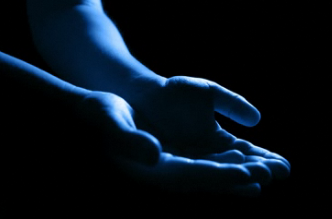
5. Rain drops on hand
Take a PhotoBooth copy of your hands ("catching rain")...quick select the hands apart from the background and load it into PS against a black layer.
something like this:
but given our lighting situation in Lang and our relative lack of time, don't worry if your hands look more like this:
First, let's change the hue so there is some mood to the image: let's add a blue hue.
To do this, do the following:
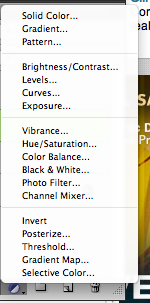
1. drop in a quick solid adjustment layer
Fiind this icon

at the bottom of the Layers window, and select "
Solid Color"
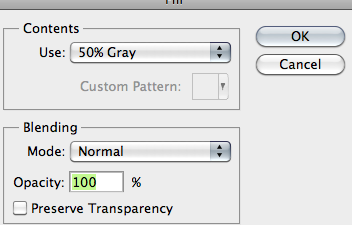
3. Create a New blank layer between the Adjustment Layer and the Hand layer.
Hit Shift/Delete to open up a Dialogue box and choose 50% Grey (it'll appear light blue b/c of the adjustment layer above it))
4. Turn the Adjustment layer off for the time being so the layer is grey.
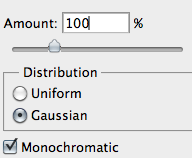
Go into the Filter menu and select "Noise"/"Add Noise".
Keep Amount to 100%, and set it to Gausian, with Monochromatic checked on.
5. Go to Filter menu again and give it a "Blur"
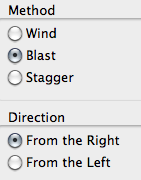
6. Go into Filter menu again and choose "Stylize" and "Wind"
And make that "Blast"
7. To intensify the effect a little more, hit
"Command/Control F" to reapply the filter effect.
8. Now Invert the values, so press "Command/Control I" so it'll look more like rain.
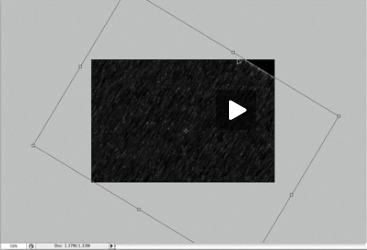
9. Control - (minus) to minimize the window (to better see what you're doing), and then hit "Command/Control T" to bring up your Free Transfrom tool. Swivel the Rain imagery so that it's falling in the right direction to hit the hands.
Then scale out (stretch) the rain to fill the entire image.
Don't forget to Hit ENTER to accept the Transformation.
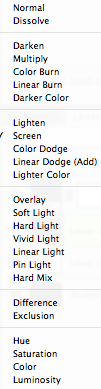
10. Now you want to blend it with your background, so go back to the Normal Menu (top of Layer bar) and choose "Screen."
11. Add the blue color back.
To make the the rain effect a little less intense, hit "Command/Control L" and reduce the Black levels just a bit (bringing the slider to the right)
http://www.planetphotoshop.com/rain-drops.html
Solid color adjustment layer
ADVANCED PROJECT
Choose 2 or 3 images from the NEW YORK DIGITAL LIBRARY and save them to your desk top.
You may use all or parts of these images.
If the image is an outside image, try to add rain to this image.
Next, try to add text with a 3D effect.
Try an adjustment filter on a selected part of the image you're working with.