Create an object (a circle, a square) and convert it to a MOVIE CLIP symbol (F8).
It may be very cool to create an donut shape: choose only a STROKE color, make the stroke fat, and


IMMUNITY CHALLENGE 5: motion tweening
Motion Tween with photographs and animate like the following:
A. CREATING A MOTION TWEEN
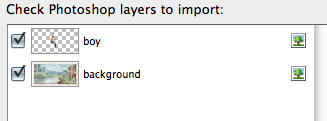
First, IMPORT the Photoshop fIle" ziplineboy.psd" you developed in Session 1 (if you don't have the file, find fresh copy on E-learning).
Make sure you Check the following, then click "OK":

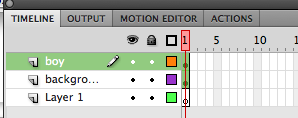
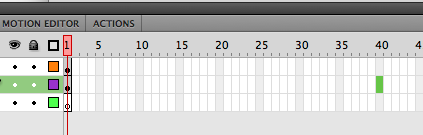
The timeline will look like this (it's a good idea to name your layers):
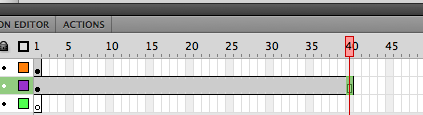
Second, put your curser on frame 40 of the BACKGROUND layer and hit Function/F5 (it's just F5 if you're not using this small funky keyboard).
This will elongate your layer. (See below)
Third, make a MOTION TWEEN for the top layer (boy).
Hold down the Command key; Click on the keyframe for that layer, and then Right click: you'll find the option to "Create a Motion Tween." Flash will prompt you to "create a symbol." Do it! (Good practice: go to the library and name the symbol).
Fourth, drag the motion tween (the layer will be green as it's selected) to meet the background layer.
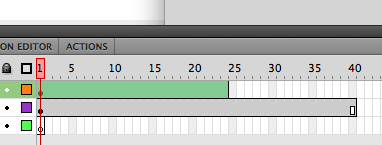
PULL TWEEN SO IT MEETS THE OTHER LAYER
:
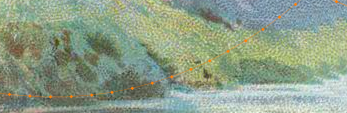
Fifth, put the boy to the far left of the stage on frame one. Move the cursor to Frame 20, and THEN move the boy to the middle of the rope swing (so he logically appears hooked to the middle of the rope). Finally, move the cursor to the last frame, and then move the boy to the far right of the stage.

Sixth, See if you can put a bend in the tween by selecting the orange dotted tween line and bending it, to make the swing up and down more realistic. You MUST have the black selection (arrow) tool selected from Tools to do this.
IF YOU'RE BORED: WORK IN 3D
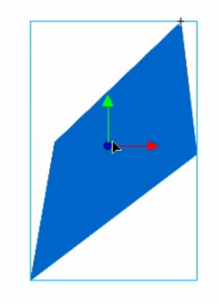
Create an object (a circle, a square) and convert it to a MOVIE CLIP symbol (F8).
It may be very cool to create an donut shape: choose only a STROKE color, make the stroke fat, and
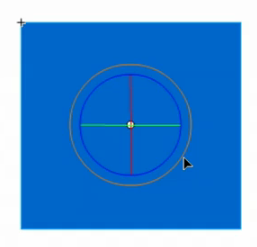
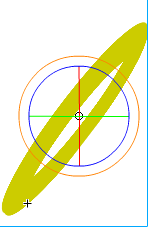
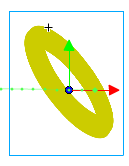
Now create an elipse in 3D and make it rotate.
REMAINDER OF CLASS:
Search for images in this collection Boy Scout Images, as well as the New York Public Library Digital Archive overall.
Work towards building your Hatchet flash scenes.