DUE March 1
Using your Photoshop Layout (Assignment 5) as your guide, build the same design as a Dreamweaver website.
1. Import the Photoshop images as a "Tracing Image" (Properties/Tracing Image, and reduce the opacity to about 60%)
2. Set margins: Page Properties/Margins, and if necessary, margin color: Properties/Background
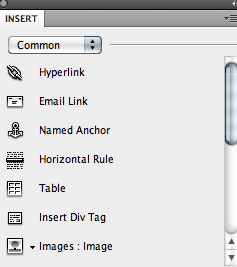
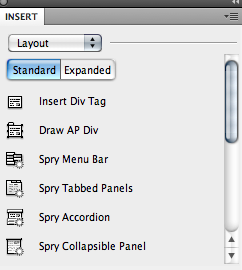
3. Copy the layout using Guides and Layout mode. Find Layout mode this way: Windows/Insert and switch from Common menu to Layout menu (this is a pull-down menu). You'll be using the "Draw AP Div" tool to create your layout. Change the color of each cell as needed.
4. Select colors for each of your tables boxes within your layout USING CSS. How:When you draw a new Div you automatically create a "Targeted Rule" and can set a table color then. OR, you can create a New Class Rule and call it ".div1" for your first color, and ".div2" and ".div3" for subsequent colors. Apply the different colors to each separate area. (You may find it easier to do this after Step 5, in table mode). The good thing about creating a Class rule is that you can bring it into other webpages. This method is preferred.
5.
Convert to Tables: Convert the Layout mode (floating tables, called AP Divs) into set tables by going to: Modify/Convert/AP Divs to Table
6.
Insert Photos: Insert your main image into the layout.
7.
Add Text: Drop in your text content and modify text (headings and general text) USING CSS (make sure you develop a new .css file that you can then apply to other pages.)
8. Develop Button Images: You'll need to go back to Photoshop to develop an up, over, and down button, all the exact same size. THEN insert your button rollover images (Insert/Image Objects/Rollover Image) into your layout.
9. Upload your website.