Assignment 2
DUE Jan 25.
1. Find: no less than 5 CAREFULLY selected images from the Creative Commons that will make up your collage.
There are numerous ways to access the CC: I prefer using Flickr's image search (next to the search bar, pull down the menu and select "The Commons").
So what is the Creative Commons? Most images you find on the Internet are copyrighted and not available for download and remix. The CC is a an internet movement that helps artists share their work and creators (like you) to adapt or remix their work, making a richer content environment for all. According to the CC website "Creative Commons licenses provide simple, standardized alternatives to the “all rights reserved” paradigm of traditional copyright...Whether you’re a photographer, writer, filmmaker, or DJ, our licenses help make your work part of the cultural innovation that’s multiplying on the Internet."
When looking for images, beware of pixels: the lower the quality the photo, the harder it is to work with in PHOTOSHOP (PS) (this warning primarily will concern your own personal photos). Try to find VERY HIGH QUALITY photos (3000 pixels is a high-quality photo).
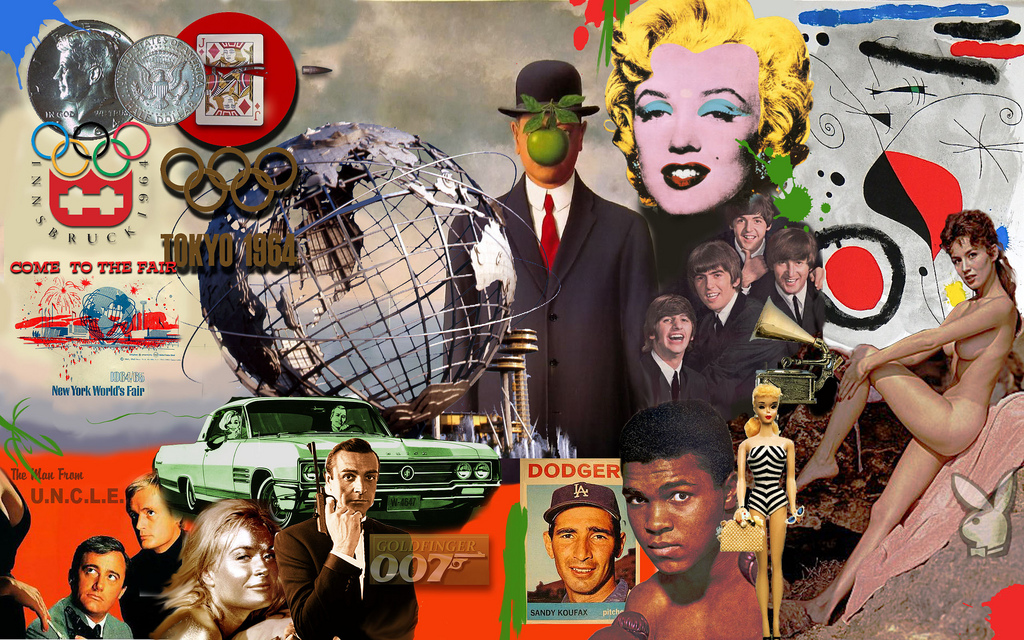
Also, think about what your story is. What does the collage (this cool juxtaposition of images) mean? Instead of a random collection of images, you need to have some point to your collage as you find your images.
2. Document. Keep track of the websites from where you found your images. I will be grading you on how carefully you document the creative commons images in your project. You must not use copyrighted images for this project.
3. Attribute: Apart from using images that are licensed for use (Attribution, Noncommercial, Share Alike--familiarize yourself with all the CC licenses), you must attribute if attribution is warranted. How? On your project page, where you post your final collage. Please include ALL ATTRIBUTIONS on your project page when you post your final project online.
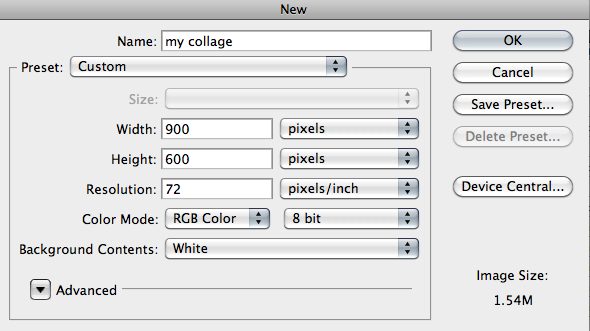
4. Create: a new document (File/New) that is about the size of your computer screen: Either 900 X 600 pixels (Landscape) or 600 X 900 pixels (Portrait). If you need to adjust your image size you can always go to Image/Size.
Very carefully, using Photoshop's arsenal of Selection Tools, carefully select yours images. I will be grading you on the detail of your selections. Don't be sloppy! Remember how amazing the Magic Eraser Tool, the Quick Selection Tool, and the Magnetic Lasso Tools are!
Make sure that EACH IMAGE APPEARS ON ITS OWN LAYER. Layers are stacked so that LAYER 1 appears behind LAYER 2, which appears behind LAYER 3, etc. You can rearrange layers by dragging them up and down in the Layers Panel.
5. Colorize: Choose at least one layer (or selected part of a layer) using an ADJUSTMENT LAYER (meaning: apply a color overlay to at least one layer; see pp. 121-122 in our text). It could mean turning a B&W car red (or just the wheels); it could mean changing the color of an image, or it could mean making your image B&W or sepia. Think creatively. Why would this particular component need (or not need) color?
6. Save: save the finished collage as a JPG.
File/Save, and then under the "FORMAT" dialog box, select "JPEG." You may want to save a few versions of your collage in various levels of quality.
7. Post: "Put Up" your image on your website by class, Jan 25. Underneath your image, include your attributions and image links.