The purpose of this SHORT assignment is to gain an even better understanding of how KEYFRAMES work to transform digital objects. This assignment has another purpose: to have fun and EXPERIMENTING with some of the amazing things AE can do. AE is Adobe's premiere 3D animation tool, which, like Photoshop, is part of the Adobe Creative Suite. For this assignment, you'll be animating the elements of your Photoshop photomontage using After Effects motion graphic tools.
BEFORE YOU BEGIN: CREATE A FOLDER IN YOUR USB DRIVE CALLED "AFTER EFFECTS."
Everything connected to this project should be placed in this folder.
PROJECT REQUIREMENTS
1. Resource: Use the New York Digital Public LIbrary for all your images. Here is a start...feel free to download any of these.
2. Transform: Experiment with image transformations. Every image in your photomontage needs to be transformed in at least 3 ways (and not necessarily all at once!)
(ANCHOR POINT, POSITION, SCALE, ROTATION, and OPACITY)
3. Length: Your AE animation needs to be approximately 30 seconds (give or take 10 seconds) plus the animated title.
4. Effects: Apply ONE EFFECT FILTER to at least two images in your animation.
5.Title: Your animation needs to begin with a 3D animated title, using the "Browse Presets" title effects tools in the Adobe Creative Suite.
6. Music. You need to include public domain or CC music (and if CC, you must attribute in the DISCUSSION section of YouTube. Go to SoundCloud for music, or Go to the Internet Archive and choose Audio / Music & Arts from the drop-down menu. To find a specific kind of song, search for a key word (e.g., "breakfast") or for a music genre (e.g., "blues"). Indeed, most of the PD music you'll find will be jazz, blues, or Big Band. To download, select the MP3 ZIP or VBR ZIP links.
Import the audio into AE just as if you'd import any file.
7. Render.
8.Save. Once you're done, save your animation as a .MOV file (see directions at the end of this document) and upload to our IDC channel on YouTube.
Reminder of how to find the IDC YouTube channel:
Log in to YouTube.com with user: idcuni@gmail.com and Password: idclanghall
Upload your video .mov file with title “AE-Animation-Spring” and category will be “Entertainment”.
Please list your name in description and class you are in. Ex: COMM-2555-02-SPRING. Share your video with your instructor.
This assignment is worth 5% of your grade.
HERE ARE THE STEPS TO BUILD THE ANIMATION IN AFTER EFFECTS:
1. START NEW PROJECT. Launch AE, select New Composition, and give it a name (your name is always good--this helps us instructors keep track!)
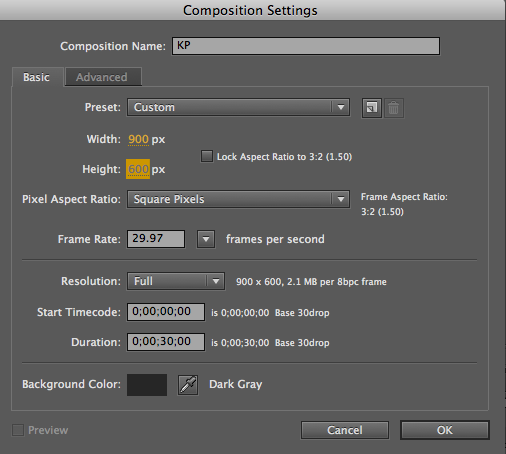
2. ADJUST DIMENSIONS. Adjust the WIDTH and the HEIGHT of your new composition to match the Photoshop document you worked on at the beginning of the term. 900 (W) and 600 (H).
You will need to UNLOCK the Aspect Ratio box to get these specific dimensions.
Click "OK."
4. ANIMATE YOUR IMAGES. Drag your images into the STAGE area and apply motion graphic keyframe effects.
What follows are written tutorials on Tools and Keyframes, Applying Effects, Animating Text, and Outputting to Movie.
Before asking your instructor, please refer to the LYNDA TUTORIAL listed here
(REQUIRED VIEWING FOR THIS PROJECT, and 28:14 minutes well spent!):
LYNDA: AE: Introductory Project.
Tools and Keyframes

- Anchor Point
- Position
- Scale
- Rotation
- Opacity

IF YOU SEE THIS KIND OF VIEW YOU MAY HAVE YOUR CAPS LOCK ON.
Applying Effects
Experiment first on a solid layer. Select Layer/New/Solid (effects are often used with solid layers).
You HAVE to apply effects to a specific layer, so adding a New/Solid layer ensures that you’re not messing anything up. You can apply effects directly to layers in the timeline by dragging and dropping a specific effect onto a layer, or by doubleclicking onto an effect when a layer is highlighted..
There are over 200 effects. Go to Effects and Presets Panel and type in the name of an effect (e.g., lightning). If you don't know the correct name (e.g., Blobbylize), you may want to browse through the many effects...experiment away!
Apply effects in the Effects & Presets Panel and then control the effects in the Effects Panel.
NOTE: All effects have transparent backgrounds to start with. In order to SEE them, you need to activate the checkerboard button at the bottom of the frame (or use a wing-tab command).

It's good to understand all the icons at bottom of screen

First, apply some random effects to a solid layer.
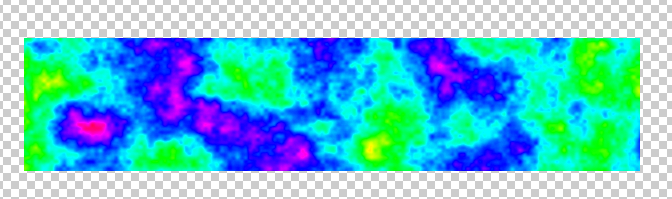
1. make rectangle box/change color to black: Layer/Solid Settings
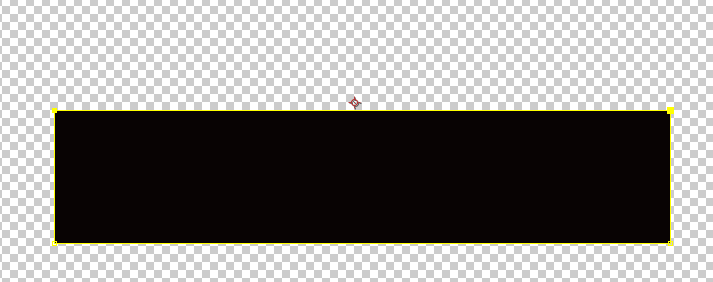
2. To select the box, click on checkerboard and then back to box.
3. Try adding the"Fractal Noise" Effect
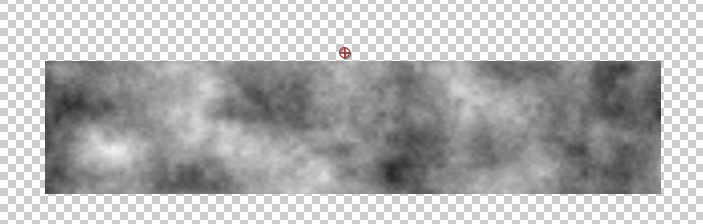
4. Then add the "Colorama" Effect
TIP: Edit/Label = change label color
If you want to Rename the label: select label, hit “return”
Animating text/Title
Create a New Composition.
Start with a solid background.
Find the TEXT tool, type some text into the composition window (your name is a good choice) and a new layer will automatically appear.

Select Text layer in the timeline, and open up the layer.
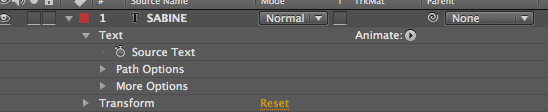
Over to the right there is a separate button called “Animate”…If you don’t see the “Animate” button, click on the first or second icon at the bottom left of the screen and expand the layer switches panel.
Twirl the “Animate” button down and you’ll be able to choose various properties to animate.
Range selector determines which characters are selected by the particular adjustment.
Offset value: takes the value of the range and shifts it around.
Go to the “Add” menu and you can add additional properties to the original animation.
OR: you can go to the Effects and Presets Panel:
Here's a quicker way to animate text though!
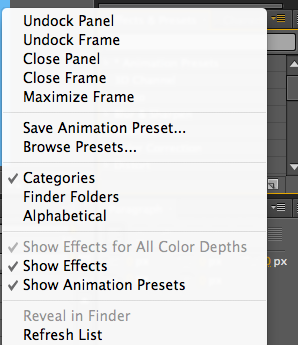
Go to Click on flyout menu (little icon that looks like a bunch of lines) on the right hand side of the Effects and Presets Panel:


From that flydown menu,
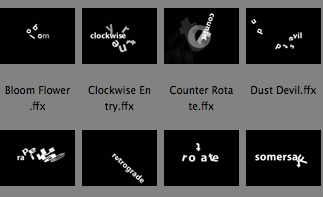
choose “Browse Presets”
It opens up Adobe Bridge. You can select from a variety of text animations.
Click to Preview; Double click to apply the effect.
Hit RENDER in top right hand corner of timeline.
The movie may take a while to render!
Uploading the Movie
Go to YouTube and sign in as follows:
username: aefall2012@gmail.com
password: aftereffects
(The channel is named after Amelia Earheart, or AE, for "After Effects")